
How to Contribute to Open Source Projects for the First Time using GitHub


Contributing to Open Source opens up lots of opportunities for the Developers as it acts as a proof of work when applying for jobs and there are high chances that Companies themselves would reach out to you for a Job Role via GitHub if your profile happens to be Good Enough.
Assuming you have installed Git Bash and have a GitHub Account lets Start !
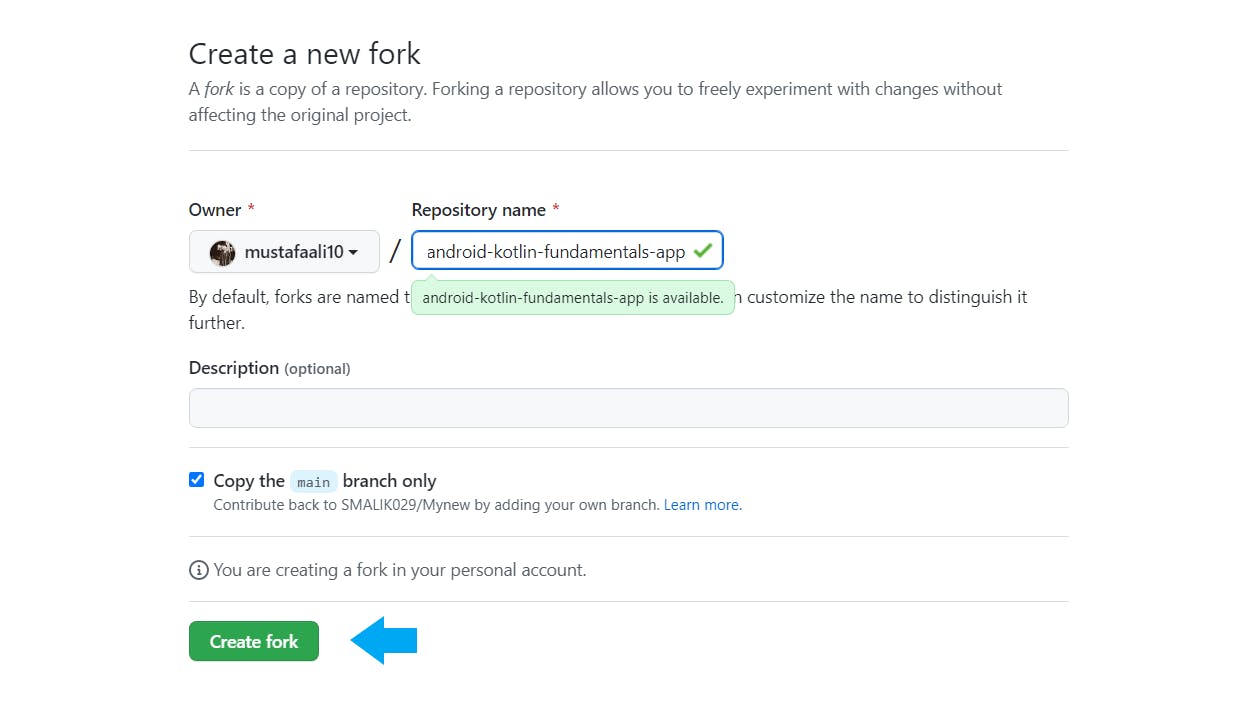
1. Forking the Project on GitHub
Go the Repository you wish to contribute and fork it

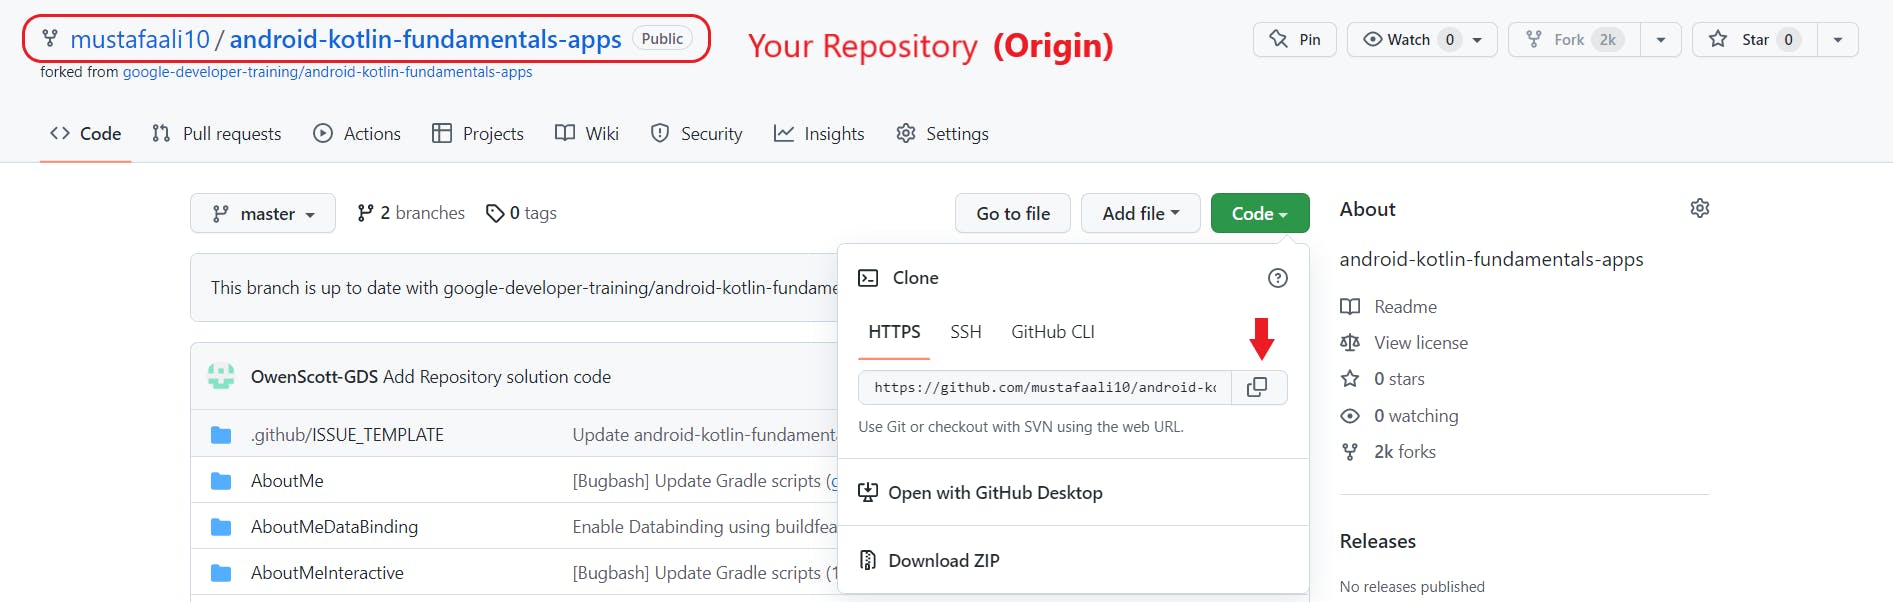
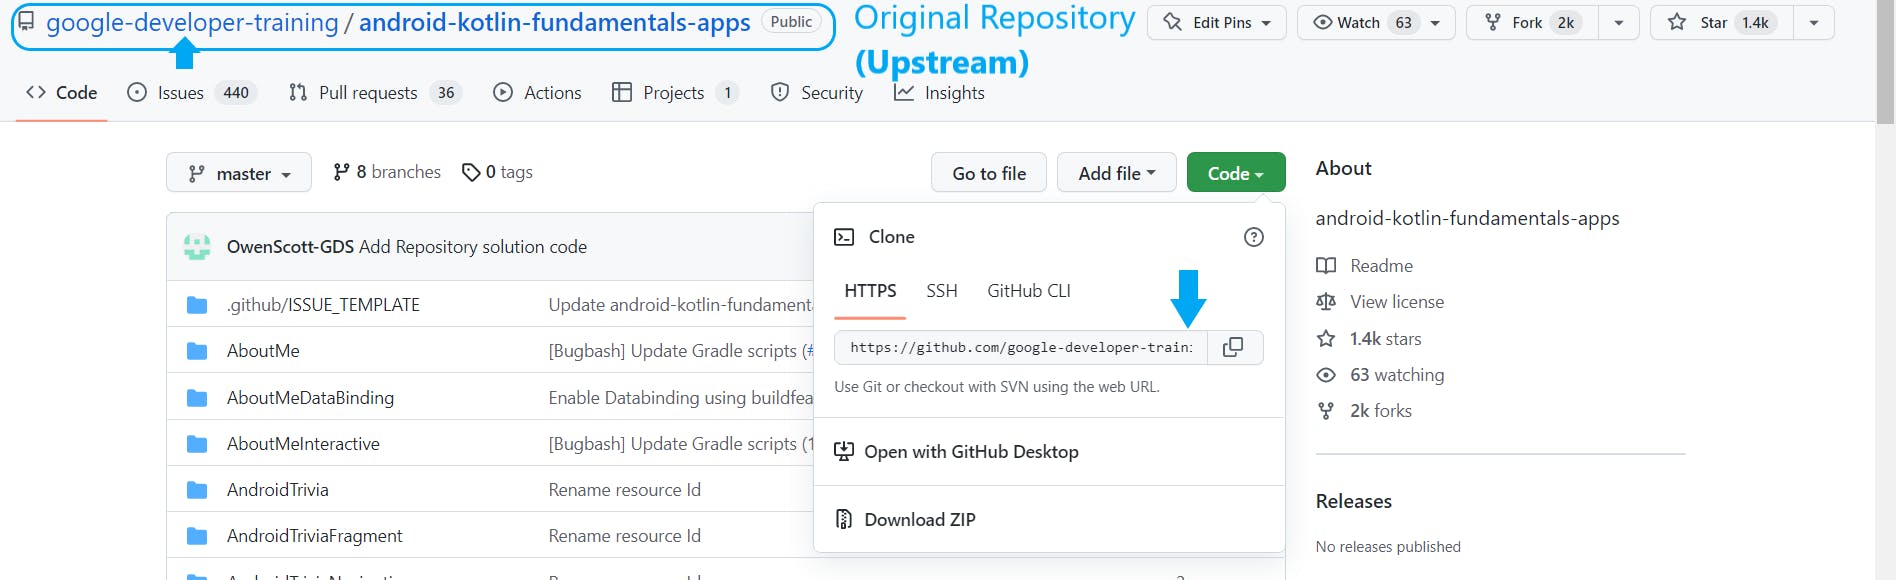
2.Copy the Link
Copy the Repository Link under the Code Button
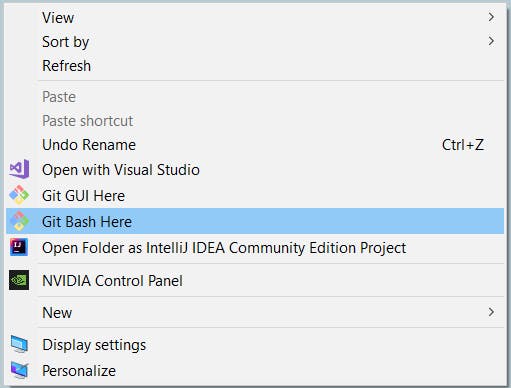
3.Git Bash In your Desktop or Desired Folder
Right Click on your mouse and click Git Bash here.
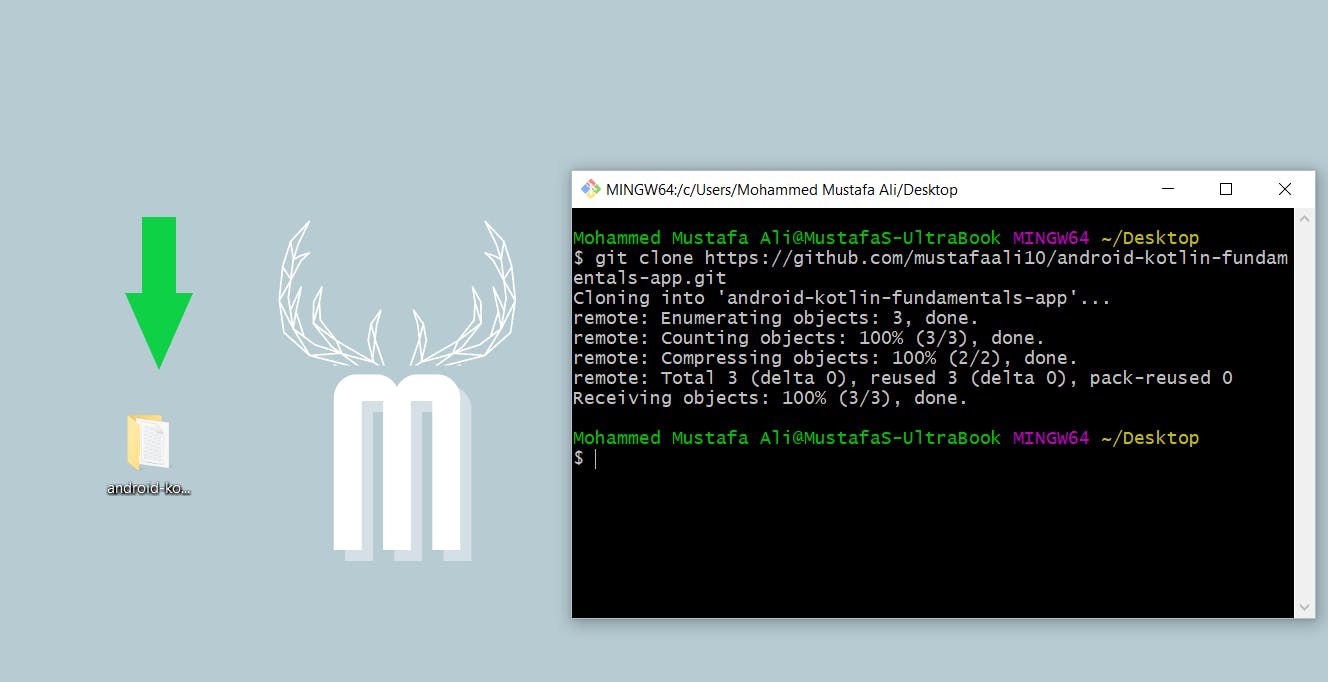
4.Clone the Project
Clone the project using your Repository link (from 2 Step) command below:
git clone [url]
Use (Windows+ V) to paste the link - Windows
Use (Command + V) to paste the link - Mac
You should be able to see your project cloned in your bashed folder (in our case on Desktop)
5.Change the Directory to the Cloned Folder and Start Contributing
cd [repository-name]

Example:
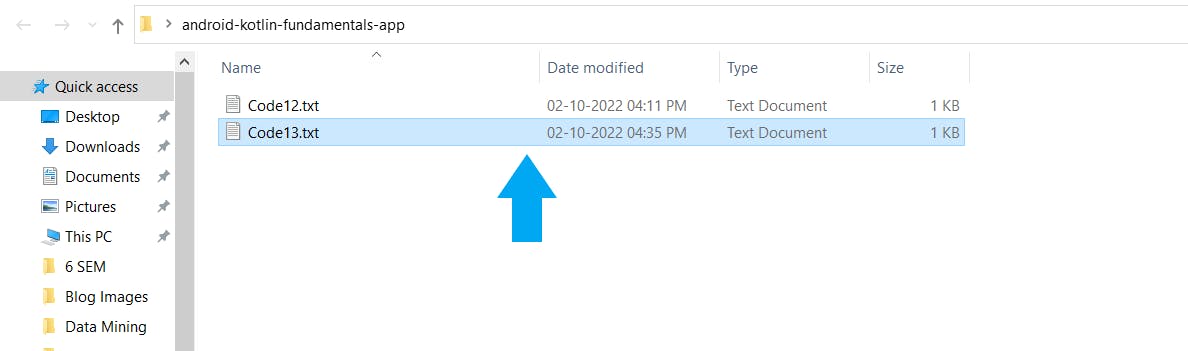 We added Code13.txt file as a Contribution to the project
6.Adding the Upstream Link
- Go the Original Repository from where you have forked ( known as Upstream ) and copy it's link. You'll be able to locate it from your repository itself.


git remote add upstream [link]
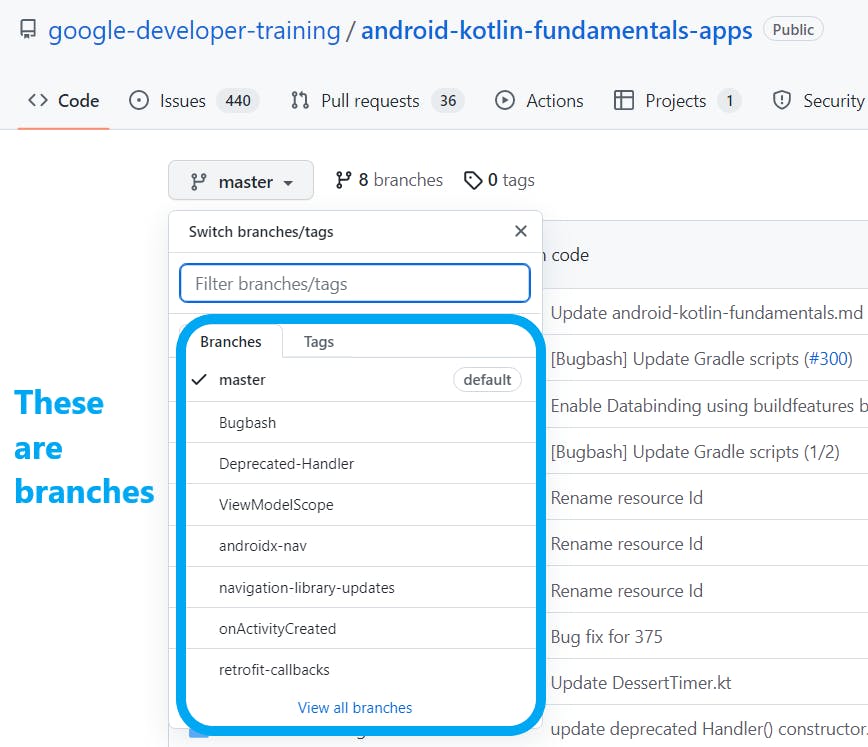
7. Create a New Branch for the Project Contribution and Checkout to it.
It's always a Good Practice to create a new branch for every commit that we make.
We'll commit the changes on that branch.
Branch Name should depict what change have you done (again a good practice)

git branch [branch-name]
8. Checkout to the created Branch and Stage the Changes
Checkout to the newly created branch and stage it using add command.
Checkout: moving the head to that branch

git checkout [branch-name]
Stage: Start tracking those files in order to Commit
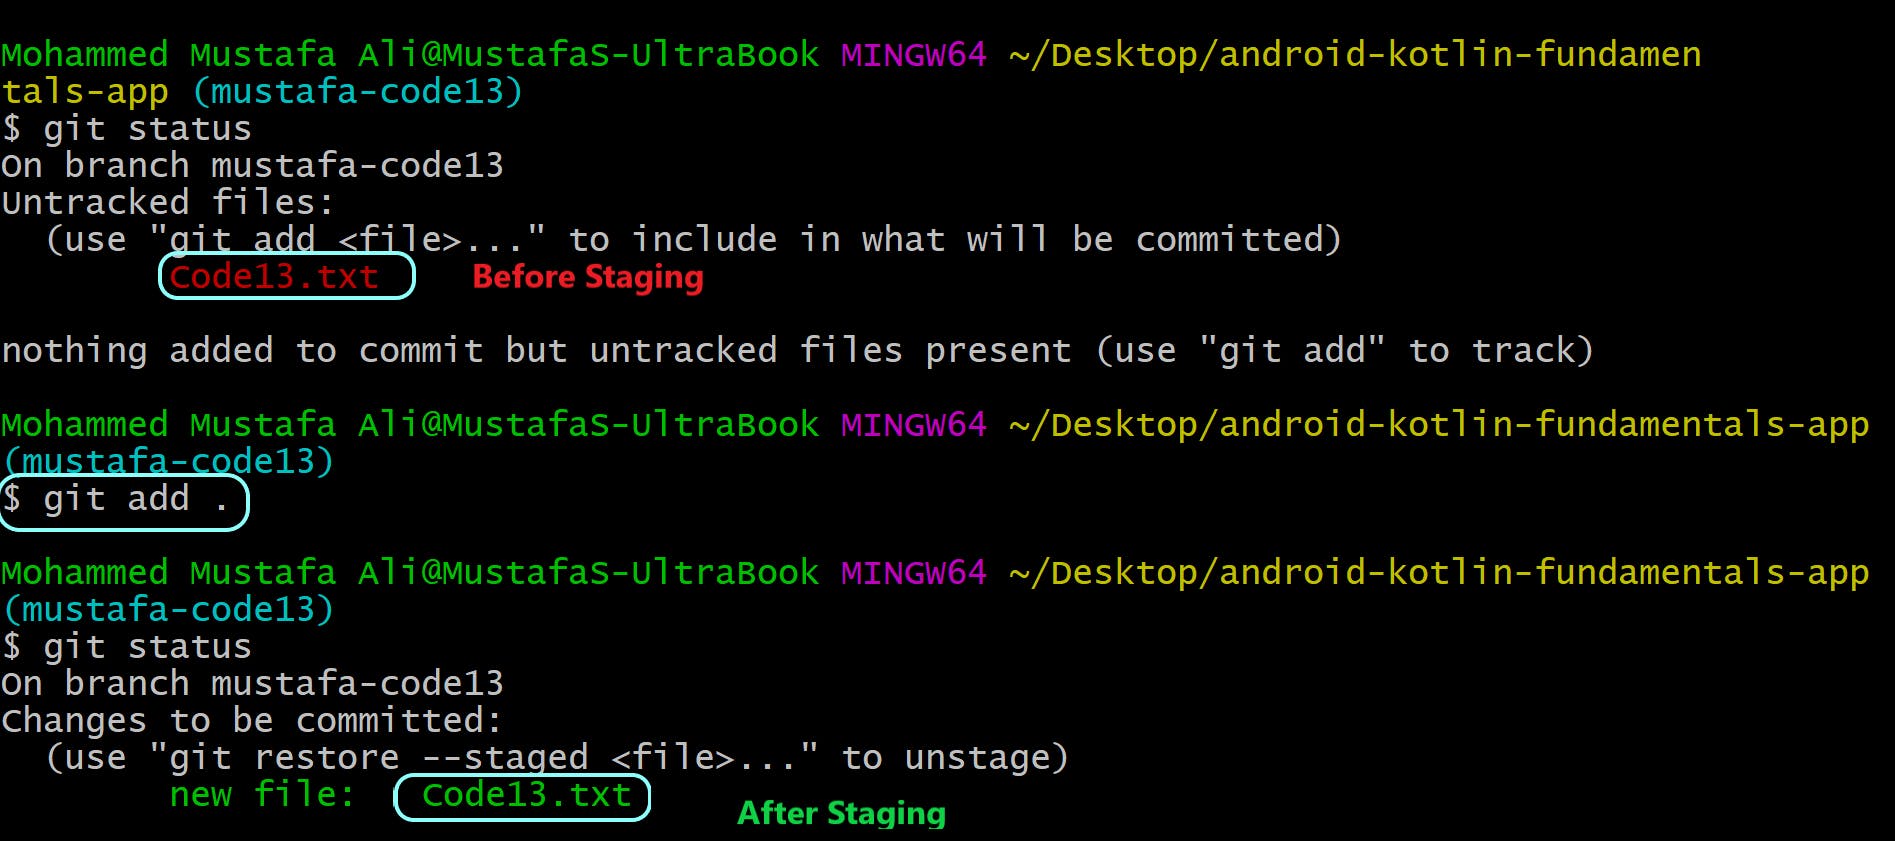
git add .
9. Commit the Changes
Commit: Submitting the Changes

git commit -m "Message to be Typed"
10. Push the Changes
- Push : Submitting the Changes which reflects on Online GitHub Repository
Push the changes with the Branch Name
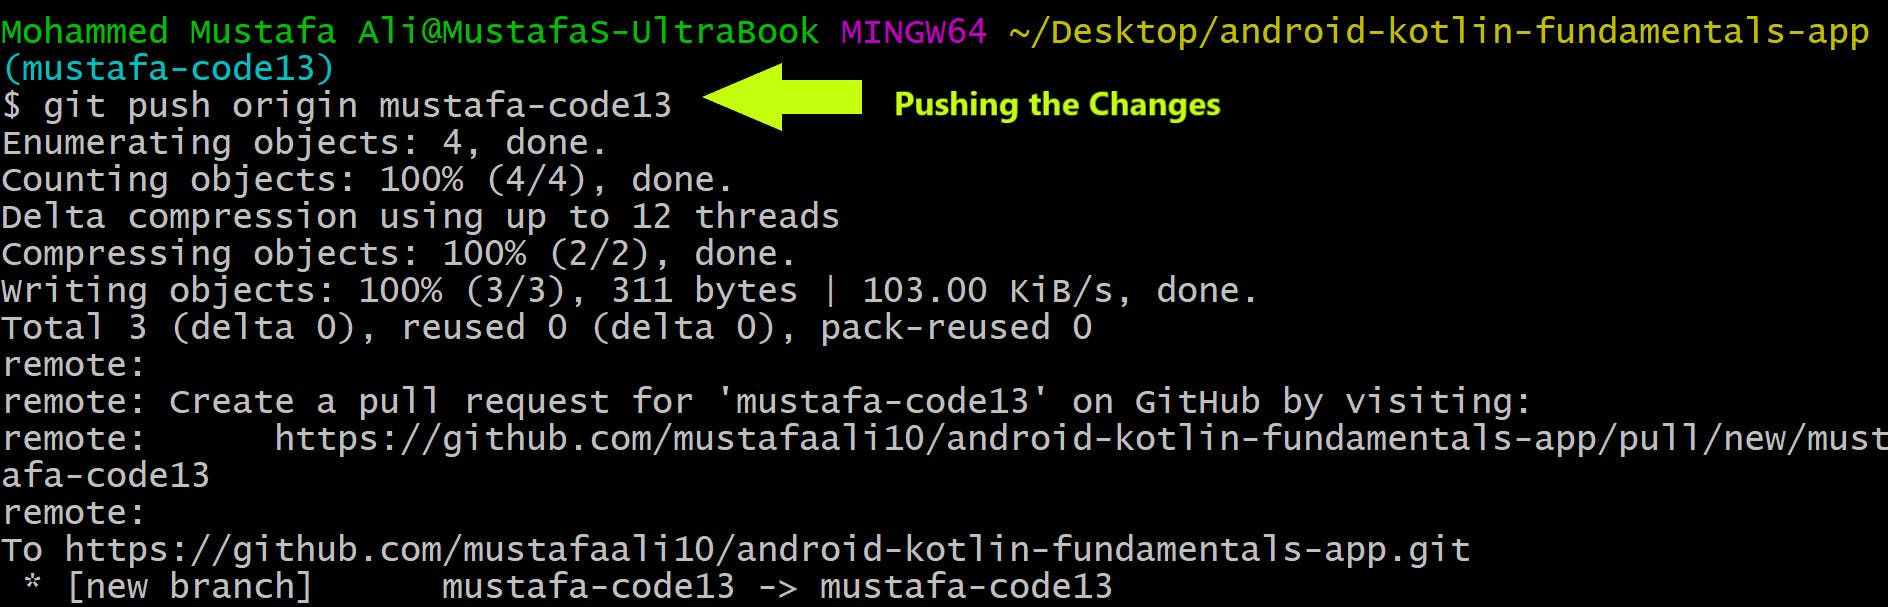
git push origin [branch-name]
Go to your GitHub Profile and Refresh you'll be able to see your changes under your created branch
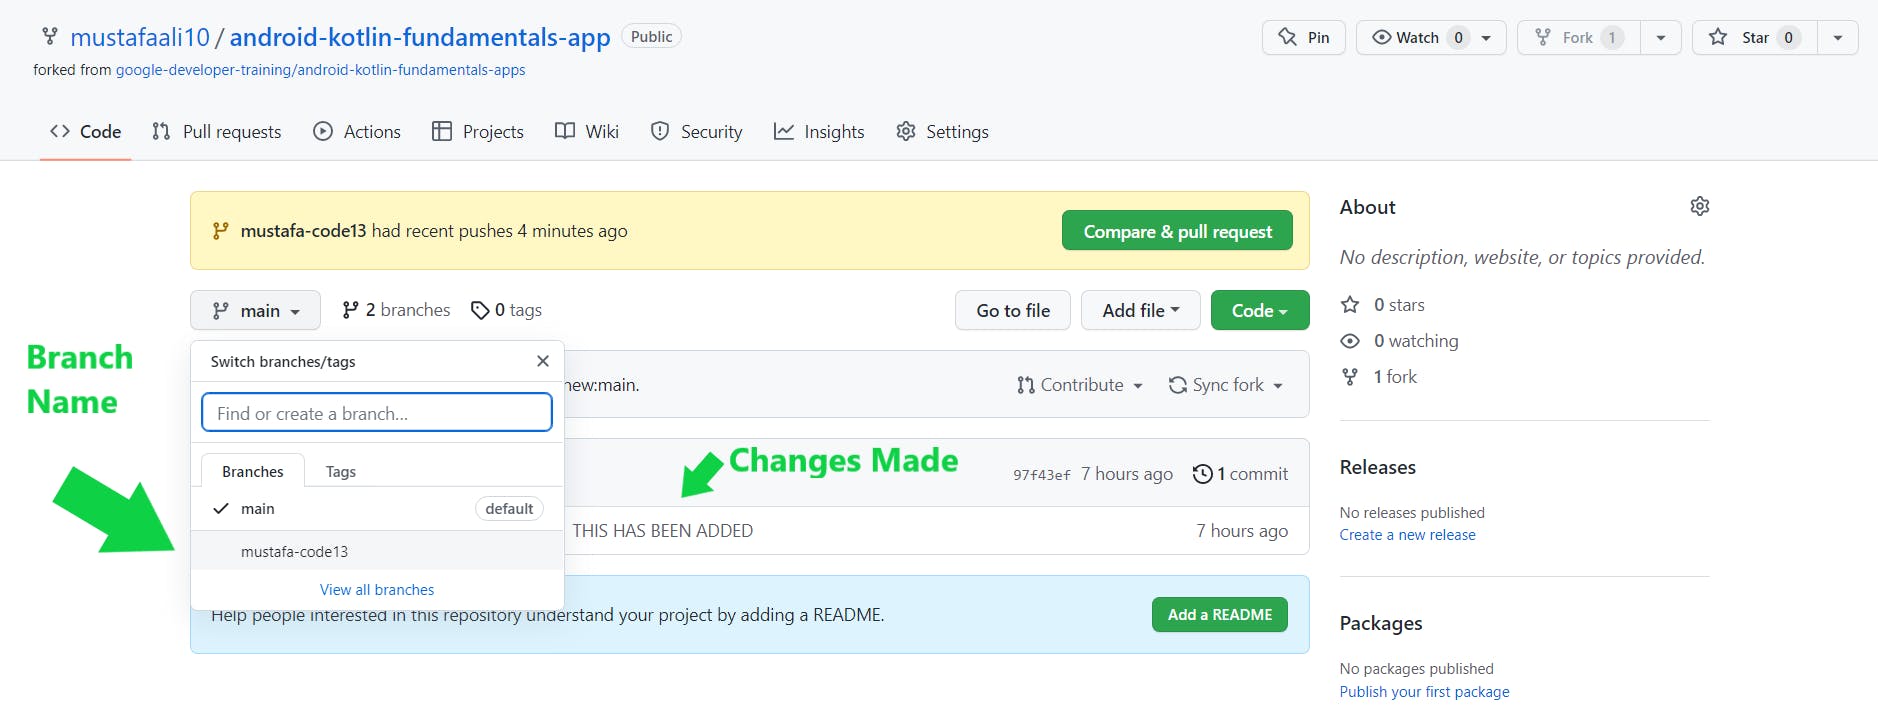
- Open the Compare and Pull Request Section as seen in the image above and Create the Pull Request and you're done with your Very First Pull Request !
- Sit back and relax you're done!
If you liked this Blog do let us know in the Comments.
Take Care !
✌😉